Process I Used Going From Wix to WordPress
If you are reading this post, you are probably in the same boat I was making the switch from wix to wordpress. I hope you are less than 20 posts in on your wixsite though. The more you have posted on your wixsite, the more you have to transfer to wordpress. I had 120 posts on wix, and I managed to delete 30 of them before the site transfer. That was still 90 posts to transfer. Which was a bit, but I will tell you my process of how I did that.
It took me almost 2 months to make the transfer from wix to wordpress. If you are considering making the switch, make sure you are in it for the long haul; especially if you are going to be out of money by canceling your yearly wix subscription.
If you are still considering making the switch, click here to see my reasons I switched from wix to wordpress. There are several people out there that do make the switch, but there are not a lot of articles about how or why you should.
This post may contain affiliate links. This means if you click on a link and purchase something, I may earn a small commission from it.
*Disclaimer*T his post is just to give you an idea of what to expect in the wix to wordpress migration. You can do these things in any order you chose really, this is just what I would recommend.
You can chose to do wordpress.com or a wordpress.org site. Some blogging groups on Facebook do not let you in unless you have a wordpress.org website (one of the reasons I switched). I was confused with this as why would I want my site to be cookingwithtyanne.org, but that is not what the .org means in this case. The .org means you are self-hosted and have a domain name already.
WordPress.com is much more limited, and you can only do so much on the free plan. If you want to learn more about the differences, click here.
Here is a rough overview of how to switch from wix to wordpress:
Pick a host
To be honest, I was going to pick Bluehost as my host until someone in a Facebook group told me I needed to use Siteground. I was going to chose Bluehost just because it was cheaper, however, I got a pretty good deal on Siteground because they happened to be running a sale!
I was cautious against Siteground because I read that they have slow customer service. The expert in the Facebook group assured me that slow customer service has never happened to him while using Siteground, and he has been using them for several years! He sent me several screenshots of his interactions with their customer service with the dates and times to assure me that they were speedy.
I have not had a bad experience using Siteground yet! The customer service chat is always available within a matter of seconds. I always get all my questions answered by them, and they are always super nice. One of them even tried my carrot cake recipe.
If you are interested in using Siteground, click here to use my referral link!
There will always be downsides no matter which host you pick. Example-price increase after a year, down time, etc. You just have to weigh your pros and cons.
When setting up your account with your host, ask about having a temporary url while you make the switch over. They will guide you through the url process of switching the permanent domain name over when you are ready to be 100% live.
Pick a theme
Main factors to look for when picking a theme is fast load time, responsive design, and mobile friendly since a lot of people will probably come to your site from their mobile phone.
I chose Elara Pro by Lyra Themes. There is a free version of this theme, but I upgraded to the Pro to get the About Me box. Some key reasons I chose this theme for my site based upon my personal preference of the following features: built in ads, recipe index template, front page banner, built-in promo boxes, and shop post/recommended products. I do not use all of these features currently, but I will use them as my site expands in the future.
I know a lot of people who use Astra as well. My knowledge is not up to par on that theme, but a lot of people in my blogging group chats use it.
Update: As of 09/2021 I switched to the Kadence theme and paid someone to make it look exactly like my old theme with the features. This proves you can use a free theme that is good, and still be fast and how you want it.
Watch theme set up video
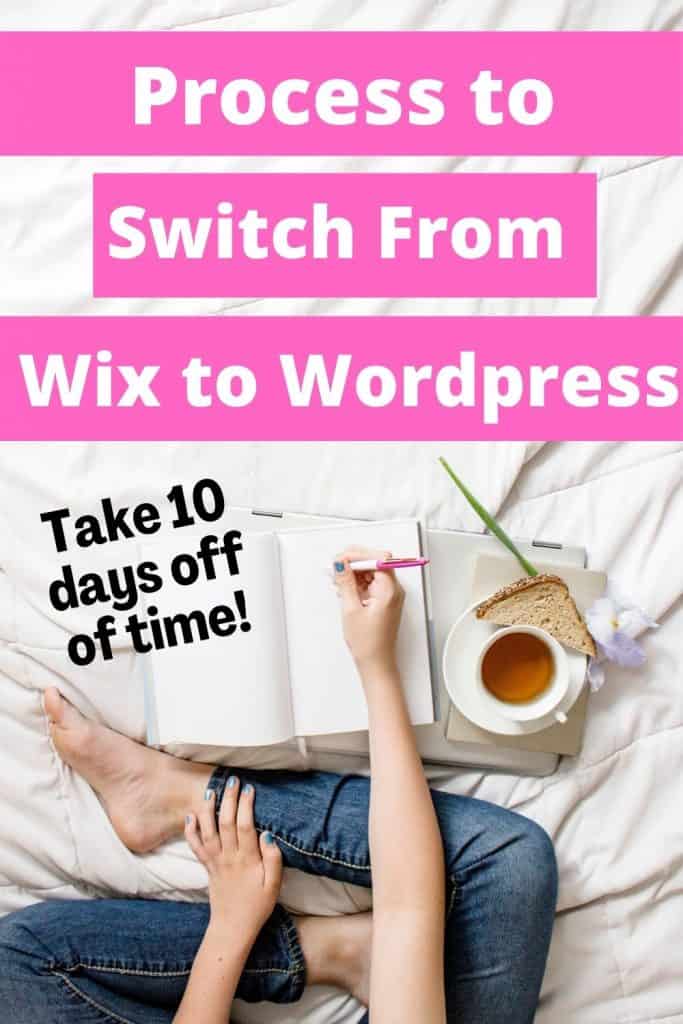
I would have shaved about 10 days off of my wix to wordpress migration if I just watched the theme demo video the same day I bought the theme. It is a 3 hour long video, but I could have easily have gotten it done in an hour and a half if I had put the video on double time.
I thought it would not be that hard to figure out myself, but I spent way too much time dinking around trying to figure out how to get the title to stay put when I could have had the whole site structure set up within a few hours if I had just watched the video!
Install plugins
One of the main wix vs wordpress factors is that wordpress has better plugins, not to mention free plugins. I think wix calls them apps, but they serve as the same function.
Always do research on your plugins before you install them because you do not want one slow one to slow down your entire site. You also do not want too many plugins either or that will slow down your site. Before setting up my site, I read an article that said 16 plugins is alright to have. 16 sounds like a lot, but they ensured that their site was fine having that many! I would still only have plugins that are absolutely necessary though.
Here is a list of some of the plugins I use
- Rank Math SEO
- This tells me how long my meta description needs to be, if I need to use the key phrase more times, how my readability is, and it also submits a sitemap to google.
- There is a paid version of this plugin, I personally use the free version still.
- You can also use Yoast, but RankMath is more specific.
- Akismet Anti-Spam
- This filters through spam comments.
- Gutenberg Editor
- I use this instead of block or classic editor because I have a recipe blog and that is what my blogging coach recommended.
- Contact Form 7
- This is a form a company can fill out to contact me for sponsorships.
- Convertkit
- Provides pop up boxes and forms in the side bar so people can opt in to my email list. I use ConvertKit because I was previously using it to email my subscribers since wix only let me send out 3 free emails a month. If you want to sign up for CovertKit using my affiliate link, click here.
- Top 10 Posts
- Shows Top 10 of your posts in the side bar
- jQuery Pin It Button for Images
- This provides each image with the Pinterest icon if you hover over the image with your mouse. This allows a viewer to save the image to Pinterest.
- Grow Social
- I have the free version to have share buttons and the top, bottom, and left side of my page so that people can share my content. I recommend getting this plugin or some other plugin that does the same thing right after your website goes live. This will help you get more shares on social media which could result in more clicks back to your website. There is nothing worse than being in a blogging group chat and someone shares a post with no share buttons. How am I supposed to share it then?
- SG Optimizer
- Comes with SiteGround.
- WP Recipe Maker
- I use this free recipe plugin for right now. A lot of people use this plug in, so it does not look that unique, but it does have several customization options.
- WP Sticky Side Bar
- Scrolling to the bottom of the page for a recipe and not having enough content in my side bar was just not appealing to me. I wanted the side bar to move down while scrolling. Lyra themes help and support people gave me the idea of using this plugin.
- Yummly Rich Recipes
- The exact description of the plugin is “adds all the necessary microdata to your recipes, so they will show up in Google’s Recipe Search.”
Figure out what you need to add to each post to make it better
I don’t know about you, but I did not have very much to say in each recipe I had on wix. My recipes were about 300 words max. Now, it does not ~really~ matter the length of your post, but having extra words per post keeps the reader engaged longer and allows more opportunity for keywords. The longer your reader is engaged, the more valuable google thinks your content is. The more valuable google thinks your content is, the more likely your post is going to show up in the google search results.
If you’re going to copy and paste your old posts anyway, you might as well review each post and make it better.
Facts I added to each post
On wix, I included an intro to the recipe, a few pictures, and some of my favorite ingredient brands. That was about it. Since I was going to be copy and pasting each post to wordpress anyway, I decided to revamp the each post by putting each photo through lightroom and then adding at least 300-500 words that answer the following questions to the text:
- what would the recipe go good with
- ingredients you need for the recipe
- how to make excellent {keyword}
- variations and toppings of { keyword}
- can I freeze {keyword}?
- how to store {keyword}
- helpful tips to make {keyword}
- if it the recipe involves meat, how to tell when {type of meat} is done?
- can I make {keyword} in advance?
Did I add all the questions to every post?
No, I did not answer all of these questions in each post, but I applied these questions where I thought it was applicable. These questions are the same questions I put as my h2 headings. I also did research using the google keyword planner to find keyword variations to ensure I found keywords that were high in search volume but low in competition. Do not use the same keyword for every heading. An SEO plugin will tell you how many times you need to use your main keyword and if you need more secondary keywords in your h2 headings.
Was every photo (200+) really filtered through lightroom?
Yeah, that is the beauty of presets. While using presets (similar to a filter), I was able to get the light right on most images with little struggle. I saved all these images to their own folder so I knew which images were done and which were not. Importation of the new images from wix to wordpress was fairly easy because the posts were already in their own folder.
Move to wix to wordpress
Once you have your theme set up, and all your categories and subcategories figured out, you can begin to copy and paste! Wix put some weird code around the text I copy and pasted, so it formatted weirdly. To combat this, I had to copy my text from wix to the notepad app (I think every computer has this app) and then copy from notepad app to wordpress. This took extra steps and time, but it was the only way to make sure every post was formatted the same.
How to keep track of posts:
I kept a spreadsheet of all the recipes I planned on moving over. The recipe titles were at the top of each column, and their secondary keywords were in their own boxes below the main keyword. This way I knew which keywords I included in my post to ensure I would use those same keywords in my Pinterest descriptions. Once the recipe was finished on wordpress, I changed the column to an orange color to symbol that the recipe was done.
You do not have to do this, this was just my organizational method.
If you are interested, here is the log of how I moved from Wix to WordPress
This is just how I moved from wix to wordpress, you can do yours entirely differently.
Again, if I would have watched the demo video the day I set up Siteground or my theme, I would be days a head of schedule migrating from wix to wordpress.
Day 1: set up SiteGround
- Had to contact support for pointing to a temporary domain
- basically, when you already have a website elsewhere, you do not want to lose it by pointing the domain to the new site that has absolutely nothing on it. I had to set up a temporary url, so that I could work on my WordPress site without affecting the health of my Wixsite I was moving from.
- support was super helpful and nice though! Very excellent customer service
Day 2: picked a theme
- I chose Elara freemium, but it comes blank so was kind of confusing on how to set it up
- I was under the impression that a theme already came set up and ready to just input content. That is not the case though. Most themes come with a video to watch on how to customize it and set it up. Always watch the video first before trying to set it up yourself.
Day 3: got title, slogan, and main menu done
- Pretty much exactly how it sounds
Day 4: bought Elara Pro
- I bought the premium version because I learned that the freemium version does not come with the about me in the side bar
- Set social links-this is important because it is the links that will link to your social media accounts if you are on social media elsewhere
- Set up about me in side bar-my purpose of buying the paid version
- Posted first post using classic editor, block editor doesn’t work for recipes
- most people do have to download classic editor. Just have to see what works best for you!
- Figured out how to change the featured image they provide me with, and put my own image.
- Uploaded a post to each category
- I chose to upload a post to each category just to see how it would look with one in every category. This also gave me a better idea on how my sidebar will look. I chose my side bar to display 1 recent recipe from 3 categories. Having a recipe in each category helped me decide if that was a right decision or not.
Day 6: deleted archives, installed convertkit, and lengthened 5 recipes
- Took out the archives out of about me with the background
- I did not really understand the point of archives, so I took that out of the sidebar
- Installed Convertkit because you need to set it up within the convert kit account and not just wordpress
- I was already using Convertkit before, so I just set it up using WordPress. I had to go into settings on wordpress and get a special code in order to link the accounts. If you are unsure as to why it is not working for you, check settings always! There might be a code you need to input.
Day 7: did some emails
- Emailed Lyra with questions
- Their help and support is so helpful!
Day 8: responded to emails
- Lyra emailed back, fixed questions-see, they are speedy!
- Did https://help.lyrathemes.com/article/214-how-to-start-a-food-blog-step-by-step-tutorial-for-beginners training
- hindsight-always do the training videos before trying to do anything yourself first! I could have taken off almost 10 days if I had just watched the video on day 1.
Day 9: learned new things, and did settings stuff
- I learned lots today!
- Image title is what is displayed when your mouse hoovers over it
- this does not mean the title of numbers shown in your files. It is the title your website gives it.
- Type the meta description until it turns green
- Orange meta description means it needs more or less words! Yoast SEO will help with this!
- Settings> reading helps google know your site needs to be crawled
- Reading this after getting my website finished makes me remember that I need to do this!
- Image title is what is displayed when your mouse hoovers over it
Day 10: finished finalizing theme set up
- Updated about page, newsletter text
- the pages about yourself are important! Newsletter text also will help people decide if they should subscribe to your news letters or not.
- Tech support figured out you need to adjust the template of recipe snippet to code
- for recipes, you do not have to hit jump to recipe every time, especially when you edited the template. Make sure you are choosing the correct template!
Day 11-30: copy and paste each post over
- I personally took these days to transfer each recipe over. I was not even expanding the length of each recipe at this point in time, I was going to do that later. During these days, I copy and pasted what I had over and making the h2 headings to fill out the paragraph descriptions later.
- My goal was to get through 10 a day, but that did not really happen because there was Christmas and New Years in there. It was just a lot going on. I did finish it eventually though, 25 days later than expected.
Day 31-52: expanded length of posts and proof read
- I took these days to expand the length of all 90 recipes. My volunteer assistants also went through each recipe after I was done and proof read it. It is best to have someone else read your work with a fresh perspective before publishing it.
- I had my volunteer assistants check the following
- url-easy to read and no crazy numbers.
- grammar-I did not want to mean to type flour and have it actually read four again.
- things they think I should add-I let them have their input if they think I should add something else to the recipe they think is necessary.
- check featured image-I had a hard time figuring out how to set featured image, so I wanted them to make sure the featured image is correct.
- size of images-if a picture looked too big or too small, they wrote it down.
- make sure recipe card itself has a picture-while trying to have pictures throughout the post, it can be easy to forget that the recipe card also needs a picture!
- specific ingredients-instead of it reading “onion” having it read “chopped onion.”
- making sure all equipment is listed-I do not read list of equipment on other people’s recipes while making them, but I was wanting the list of equipment on mine for affiliate marketing purposes in the future.
- I had my volunteer assistants check the following
Day 53-55: finishing touches before leaving wix completely
- These days I was trying to figure out if the recipes I was going to trash, needed saving or not.
- I figured at this point, I might as well copy and paste the recipe over, and maybe revamp it or something on a different day. Those recipes remained in my drafts, so I did not feel rushed to complete them.
- I also pointed my domain and left wix completely. I had to contact Siteground for how to do this. They were helpful and got the job done!
Day 56: google crawled site
- I submitted my sitemap to google, and went to settings>reading> and turned on the button that makes google crawl my site. I checked later to see if it had been crawled, and it had!
Overall thoughts after migrating from wix to wordpress
Moving from wix to wordpress was a challenge, but I know I learned a lot by doing this. I could have paid someone to do this who also could have gotten the job done, but I had the time to spend 10 hours a day doing it. If I did not do the transfer myself, I don’t think I would understand how to use wordpress as well as I do now. I am glad I made the switch, and I would not change my new site for the world. I am very happy with how it turned out. If you want to know about my blog after I went live, click here for my first month recap.