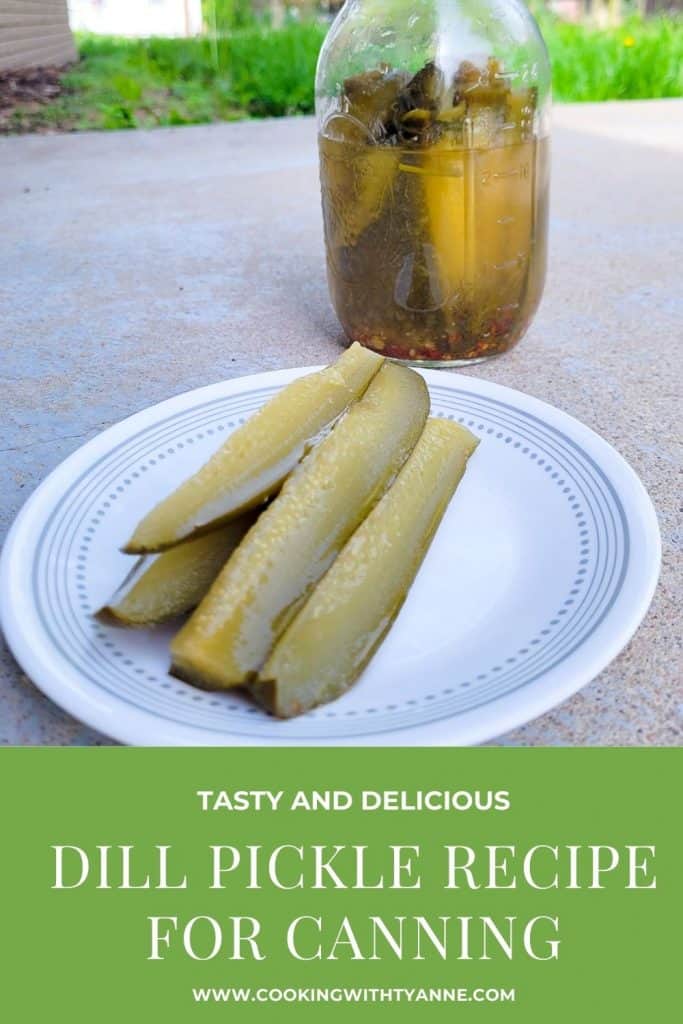
Dill Pickle Recipe for Canning (Old Fashioned Dill Pickle Recipe)
This dill pickle recipe for canning has been in my family for almost 50 years now. This is the only crunchy dill pickle recipe you will ever need. A pickle is a cucumber that has been fermenting in a brine. This old fashioned dill pickle recipe requires a water bath.
This post may contain affiliate links. This means if you click on a link and purchase something, I may earn a small commission from it. In the footer of this page is my full disclosure policy.

Ingredients for canned dill pickles:
- Small to medium sized cucumbers amount depends on size and how many fit in a jar
- Dill head – the part that makes the pickles dill flavored
- Onion cut into strips – adds flavor
- Clove garlic, crushed – crushing helps add more aromatic flavor
- Vinegar – part of the brine and helps preserve the cucumber
- Alum – helps with the crisp, crunch at first bite
- Water – for the brine
- Canning salt – helps cure the pickles and prevent canning related illnesses that an result from improper canning techniques.
Home canning tools:
Canning crock is necessary for sealing your jars. This one holds 7 1-quart jars, and the bottom gets heated evenly throughout with the flat bottom base. This cannister be used on gas or electric or glass cook tops. The handles also do not get hot with the stay cool technology. This crock is also made out of stainless steel, so it will not ding, dent, or chip. This set comes with lid and easy to lift jar rack as well all for under $40, so it is very affordable. My family tried to get by without a canning crock before and just tried to use a large pot, and some of the jars did not get sealed because the crock was not big enough.![]()
Jar lifter and funnel are also good tools to have. A jar lifter helps lower and raise the jars within the canning crock to ensure your hands are not getting too close to the hot water. A funnel ensures there is less spills while pouring the brine into the jars.
![]()
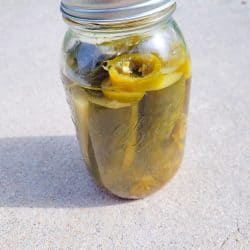
Jars are a must as you are making this dill pickle recipe for canning. If this was for refrigerator dills, you would need ice cream buckets and not jars. But since this is dill pickle recipe for canning, they need to be in jars. Make sure you have enough lids and rings for each of the jars and that the lids and rings fit your jars if they are wide or narrow mouthed.
How to make
- pick and wash cucumbers – cucumbers should be picked in the morning when the weather is cool. Wash the cucumbers and place them in the fridge in an ice bath to ensure a crisp flavor
- stuff jars – preparing the jars before making the brine is essential so when the brine is ready, it is ready to be poured over the cucumbers in the jars
- make brine – the liquid that goes around the pickle and helps cure it has to be boiling and poured over the pickles.
- seal jars – sealing the jars in the hot water bath helps the pickles stay preserved at room temperature
- wait to eat – these pickles are not cured right away, wait at least a month before trying them.
FAQs
What kind of cucumbers do I need?
Unwaxed, 4-5 inch long cucumbers. You do not want to use monstrous sized pickles as those do not get as crunchy. Cucumbers work best picked the day of in the morning before it is hot out. Make sure to cut the stem off the cucumber before placing in the jar. You can cut your cucumbers into spears or chips depending on
What is a dill head?
A dill head is the part of the dill where the seeds are. It resembles a danylion head, kind of like a flower. This provides the cucumber with that dill flavor.
What to do with dill pickle recipe brine if there are leftovers?
Save the brine from your crunchy dill pickle recipe with alum for the next batch of pickles! If you made too much brine for the first batch, you can always keep it in a jar in the fridge until you are ready to make the second batch. When making the next batch of old fashioned dill pickles, just pour the brine into the pot to be heated just as you normally would, and begin making the second batch of brine. You may want to decrease the brine recipe a little bit for the second batch of brine for this dill pickle recipe for canning since you are using leftover brine with it as well.
Are my canned dill pickles sealed?
As this is a dill pickle recipe for canning, ensuring that your lids are properly sealed is necessary no matter your canning skill level. It can just be harder to get them sealed if you are new at canning and do not know what an unsealed jar looks like coming out of the water bath. Your lids should be indented if they are properly sealed after the hot water bath. They should also be extremely hard to open. If pretending to open one (as you should not open them right away because it takes 2 months to set), and the ring and lid both pop right off, then your pickles did not get sealed in your water bath. When this is the case, you caught them unsealed right away and can just put them in the fridge for 2 months to let them set before eating. These would be similar to refridgerator dills.
Even if you did think they were set, before opening a new jar, make sure the jar makes a popping sound when you open it. If it does not make a popping sound, then they were not sealed. Do not eat a jar of unsealed pickles that has been sitting at room temperature for months.
Reasons for canning seal not forming:
- insufficient water in water bath
- The jars need to be completely submerged underwater. They should even have about 1/2 an inch of water over top the jars when they are in the water bath to ensure proper sealing. You canning crock needs to be large enough to fit enough water to have that much allowance of water to go over the top.
- wear on jars
- When using the same jars year after year canning, it is common to get a jar with a flaw from use. This flaw may result in the jar having a hard time sealing if the flaw is near the rim.
- issues with rings and lids
- Rusty rings may prevent proper sealing. If your rings are quite old, it may be time for some new ones. Make sure your lids are not dented in as well. Do not reuse the lids or there is a higher chance they have an issued getting sealed.
If you want to know more tips for canning pickles and want to ensure your jars are sealed properly, click here.
If you are unsure if your pickles were sealed or not and unsure if you should eat them, when in doubt throw it out.
Why are my pickles soft?
Chances are you overboiled them. This has happened to me a few times. Try to only boil for the set amount. Another alternative is adding more alum.
How to store canned dill pickles:
Usually after making this dill pickle recipe for canning, you store them in a cool dry place for about 2-3 months before eating. If you are impatient, you can start testing them at about a month. Once you break the seal on the jar, you should always store the jar in the fridge after that.
How long do homemade pickles last? I keep mine around for years as they are sealed. They should be good for at least one year, if not more. Make sure to write the dates on the lids so you know to eat the oldest ones first.
Crunchy Dill Pickle Recipe
Recommended Products
Ingredients
- 20 small to medium sized cucumbers amount depends on size and how many fit in a jar
- 2 heads dill divided amongst the jars
- 1 onion cut into strips
- 1 clove garlic crushed
- 1 quart vinegar
- 1/8 tsp alum
- 2 quarts water
- 1 cup canning salt
Instructions
- If using your own cucumbers, pick them from the garden in the morning. If using store bought cucumbers, proceed to step 2
- Place cucumbers in an ice water bath in the fridge for about 5 hours. This will make them crunchy.
Fill Jars
- After the 5 hours, wash off the cucumbers with cold water. Cut them into spears and fill each jar half full of cucumbers. Then add dill, onions, and garlic and alum spread equally between each jar. Fill jars up to the brim with the remaining cucumbers being sure that there is 1/2 inch of space left from the top of the jar.
Make Brine
- After jars are filled, make the brine by brining to a boil vinegar, water, and salt in a large pot.
- When the brine is almost to a boil, begin running hot water over the jars with cucumbers. Make sure to only run the hot water on the outside. This will prevent the jars from breaking from the shock of the boiling brine.
- When brine is boiling, pour it evenly into each of the jars fill with cucumbers ensuring all the cucumbers are covered with brine.
- Pour enough water into a canning crock to that would be enough to cover the jars, and turn the burner on to get it warm, not to a boil yet.
Seal Jars
- After jars are filled with brine, wipe off rims with a dry wash cloth. This will help them stay sealed.
- Place flat and ring on the jars. Make sure the ring is sealed on tightly by screwing on until it meets resistance and another 1/4 turn after that.
- Place all of the jars in the warm water in the crock by placing them in with tongs. Bring this water to a boil. Once boiling, shut off burner. Let jars cool there overnight.
Storing
- In the morning, take the jars out of the water and wipe them off with a dry cloth. At this point check to make sure the jars are sealed. If they are not sealed, then put them in the fridge for 2 months until ready to eat. If they are sealed let them store at room temperature for a few days.
- After a few days, place jars in storing like in a basement or cellar in a cool dry place for about 2 months.
All information presented on this site is intended for informational purposes only. Nutritional facts listed are a rough estimate and should only be followed as a general idea.
Canned dill pickles can be hard to get right but this recipe is absolutely amazing! Will definitely be making again!
This is such an informative article! I can’t wait to try making these pickles this summer! They look perfect and so easy! Thank you for the recipe!
I always bought my pickles in the supermarket. But after trying this amazing recipe, I will definitely be going to make my own homemade pickles.
I love that this recipe makes a BIG batch of canned pickles! We eat on our homemade pickles on year long, so this is perfect!
It’s been ages since I made dill pickles so I am glad you posted this recipe to get me thinking of canning again.
These are so delicious and I always like to have a can of these in my fridge. They give you a strong taste and perfect crunch
Is it 1/8 teaspoon ALUM per jar or for the entire batch?
per jar